Review
Part 1
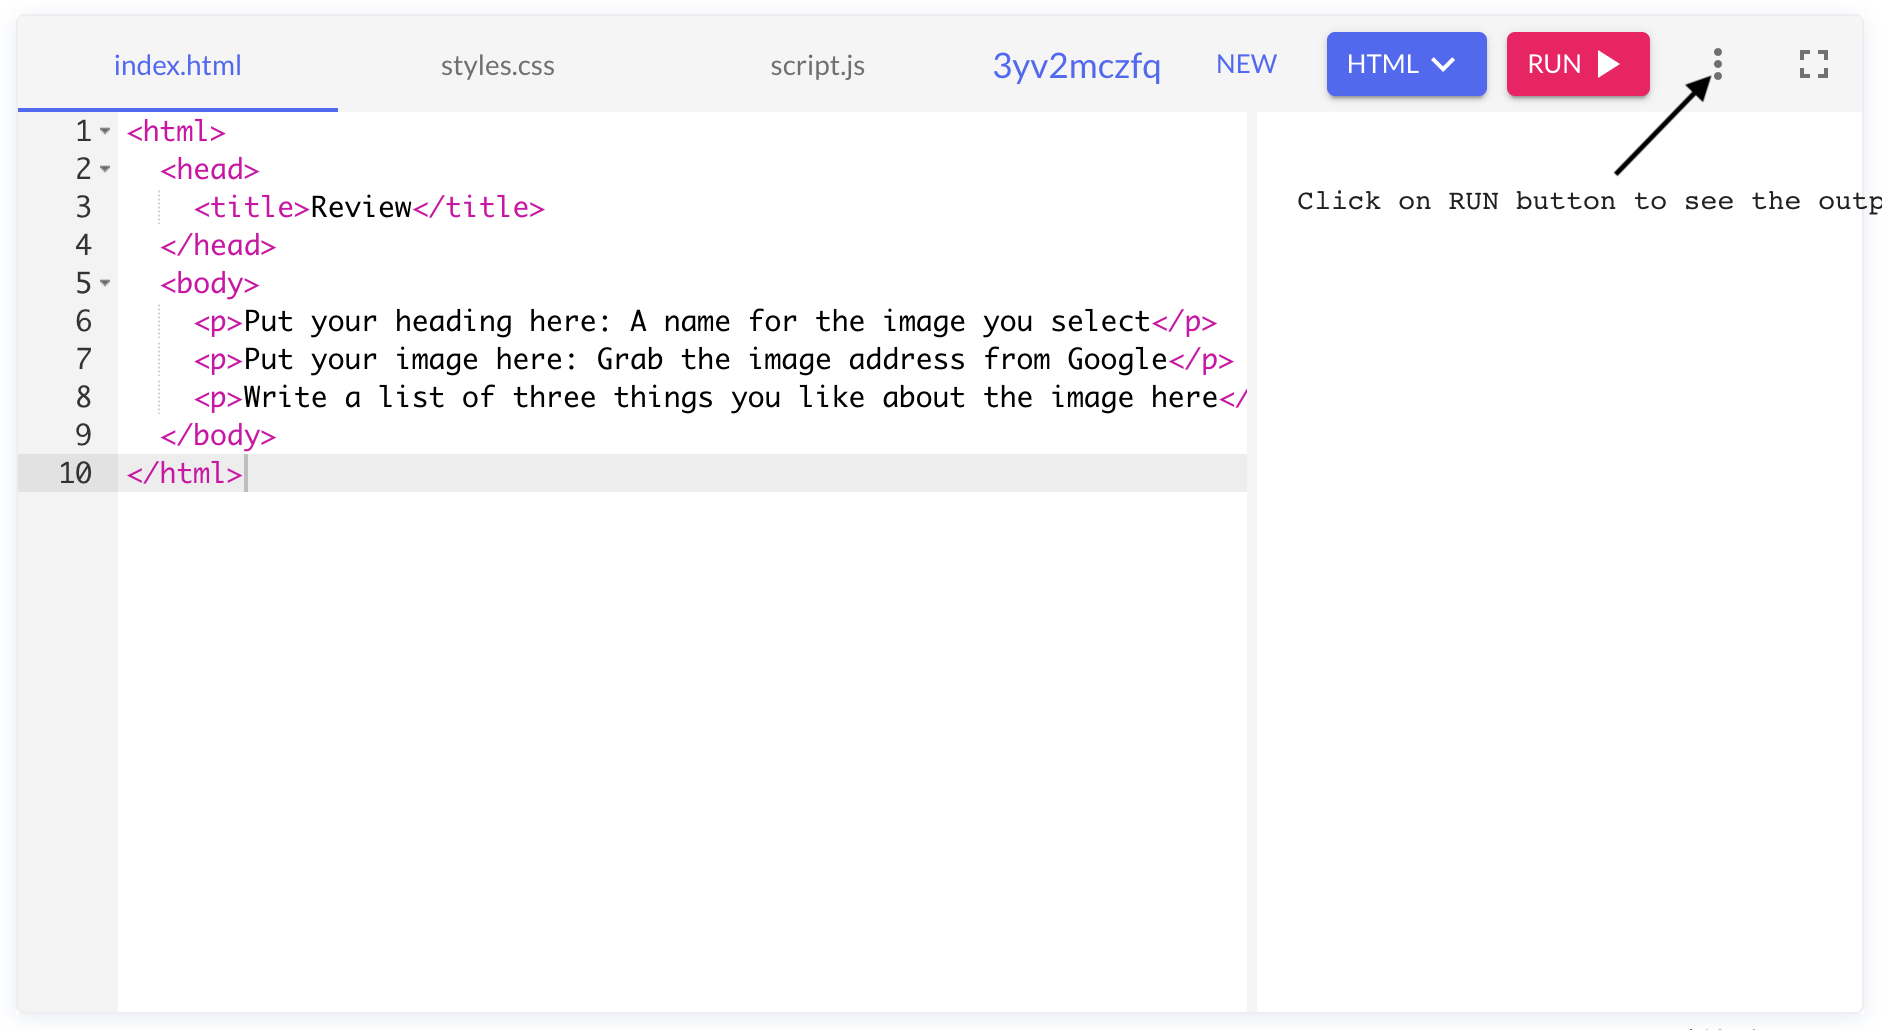
Open up the HTML editor at onecompiler.com/html/3yv2mczfqYou'll see some HTML Code already present.
Work with this code. To see the output, click on the red run button in the upper right corner.

Replace the text you see with what it's asking for. For example, where it says Put Your Heading Here: A name for the image you select, replace
<p>Put Your Heading Here: A name for the image you select</p>
with
<h1>A Ball</h1>
If you choose to use an image of a ball
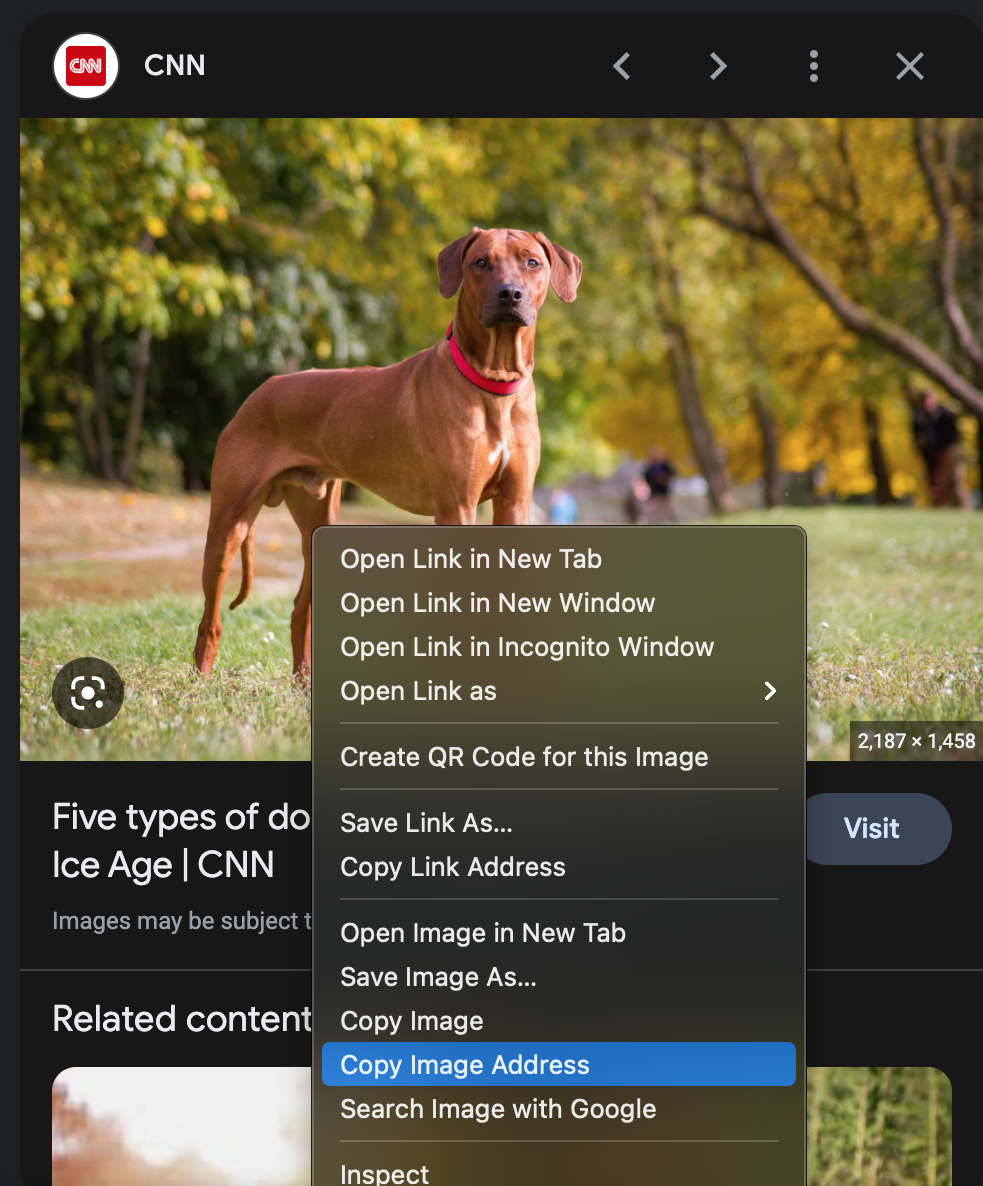
**Remember, for images, retrieve the src by doing the following:
Set src equal to another image link. Go to google images, find an image,
right click on it, and select copy image address. Then, paste that where it says src. Dont forget the quotation marks!
Part 2
Place a horizontal line after the heading and the image using the <hr/> tag.
Then, make each text tag (<h1>, <li>, <p>, etc.) a different color
(remember the style="color: color-of-your-choice" attribute)
Part 3
Now we're going to change the background color of our webpage! To do this, we add the style attribute to the body tag,
and set background-color equal to any color we want. It looks something like this:
<body style="background-color: any-color-you-want;">
Set your webpage background to anything you want.
Part 4
Turn your image into a link to a website related to the image. So, if you have an imgae of a lego,
turn the image into a link to a legos site.
Hint: Do this by placing the <img> tag inside of the <a> tag like
<a href="link-to-site"><img src="link-to-image"/></a>
Note: To test the image link, download the html first--that way, you can access the link locally rather than from the editor.
Saving Your Work
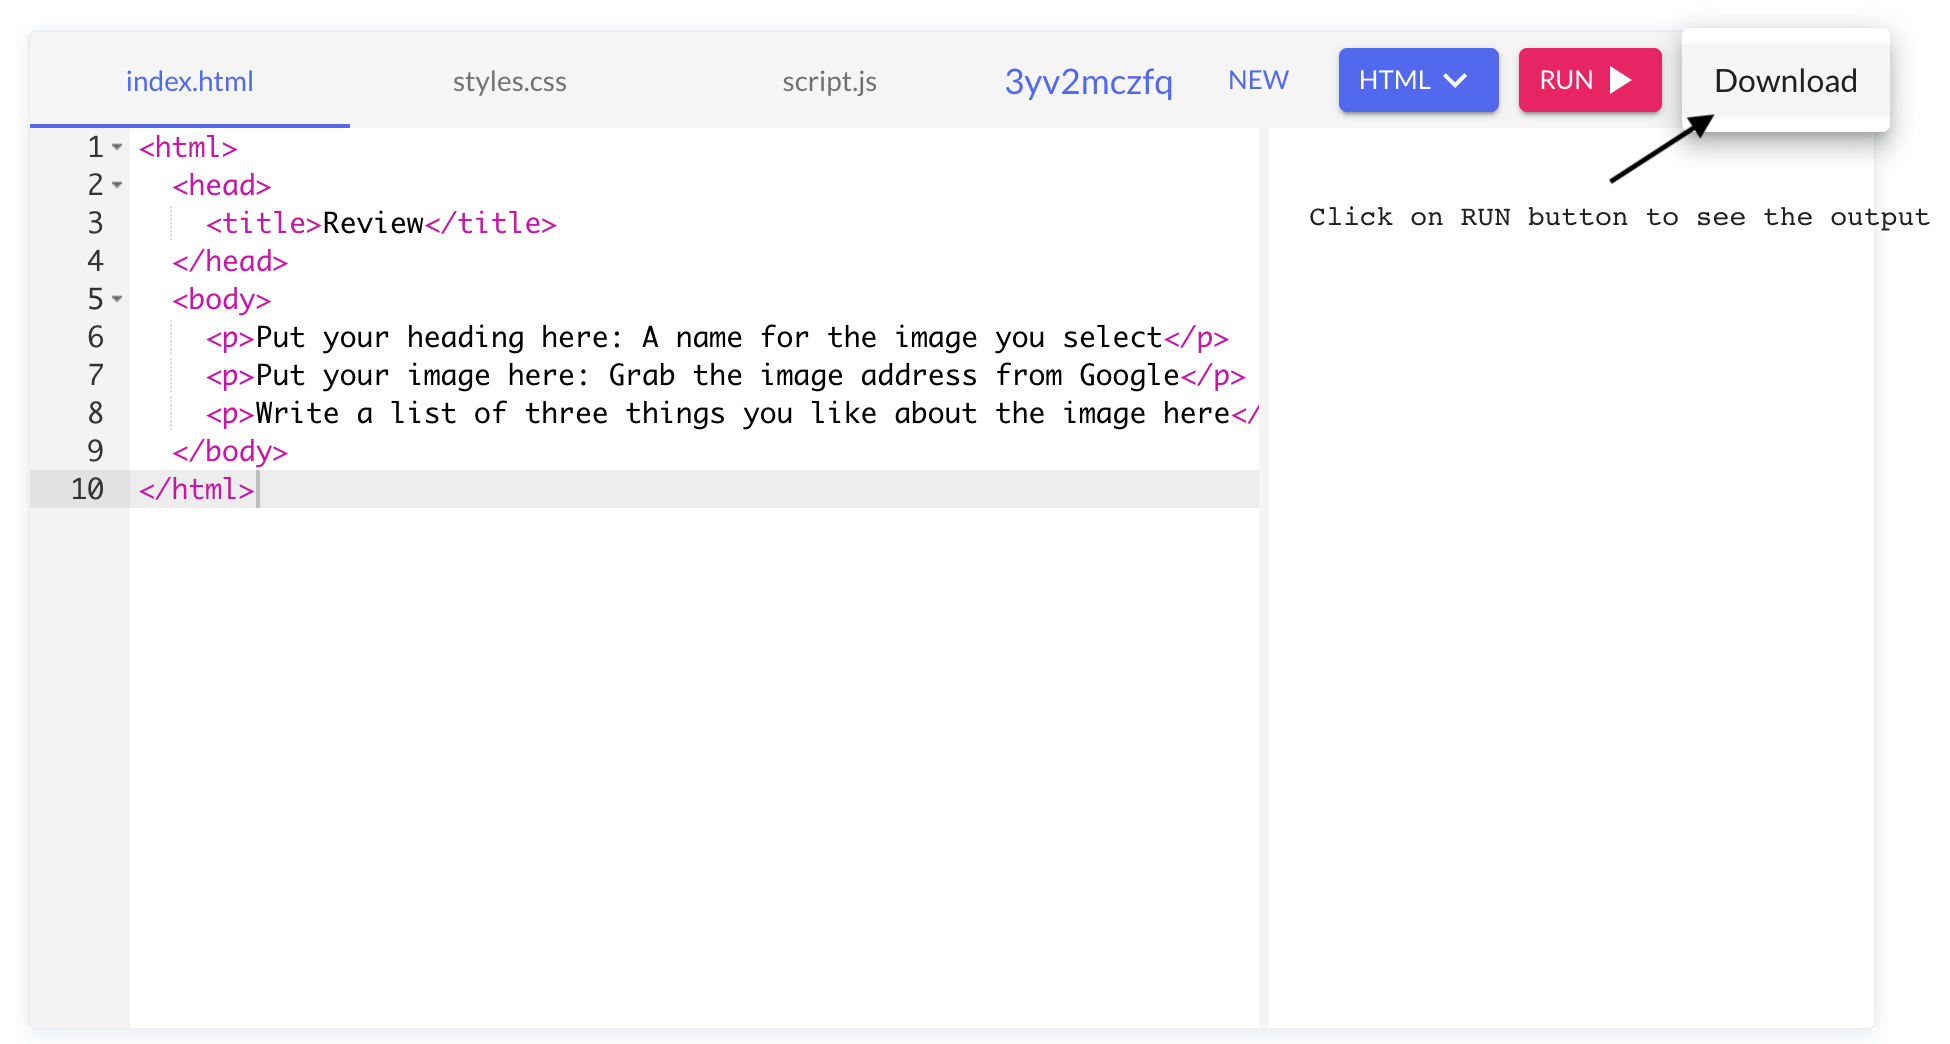
To save your work, click on the three buttons on the upper right part of the editor window, and then click Download
Challenge
Keep playing around with your webpage. Make whatever other changes you want!